The Devil's in the Details
- Emma
- Jan 22, 2017
- 4 min read
This weekend was devoted to making some aluminum pens on the lathe. I've written about this project before, but even though I've already put some time into getting the process right, I still had a ton of details to figure out. I've tried to illustrate everything with pictures of my setups to make the process clearer.

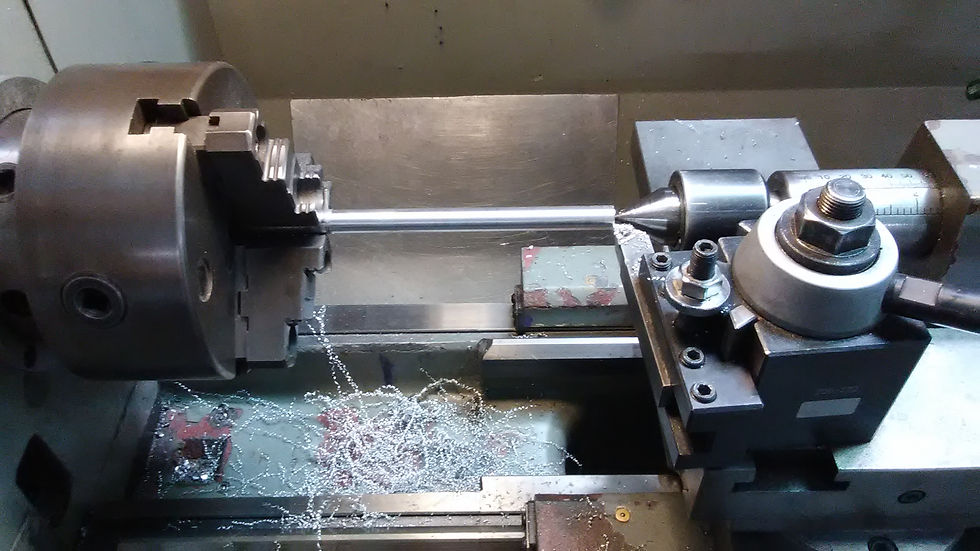
The biggest problem I had the last time I tried to make a pen was that the 2 halves were not concentric relative to each other and the pen looked like it wobbled if you chucked the whole thing in the lathe. One of the reasons why my parts were not concentric was that I was turning down each half individually. This time, I chucked up all 6 inches of aluminum and turned it all down at once. I used the live center on the tailstock to support the far end so that the part wouldn't deflect too much during cutting. I noticed about 0.002" - 0.003" of variation along the length of the part, which I could definitely live with.

Putting the taper on the front of the pen is easier now that I've figured out to only move the cross-slide during the cut, and to take smaller cuts, moving towards the part center each time with the x-axis. I've even refined the hand motions of turning the cross-slide crank so that I get a smooth finish (the trick is to use both hands on the crank). But I still get overly aggressive with the #38 drill I use to drill out the small hole for the tip of the pen nib - I broke another bit on Saturday! I took that as a warning to be patient and go slow.

I decided to be more bold in my design this time and add - gasp! - grooves. The image above shows my setup - I put Dykum on the part and engraved lines 0.200" apart with my calipers. (I also used the increment marks on the dial to double check against my scribed lines.) I used a groove tool (visible on the right) and went in about 0.0125" (i.e. 0.025" on the diameter). For some reason I didn't get them perfectly spaced - I need to pay more attention next time.

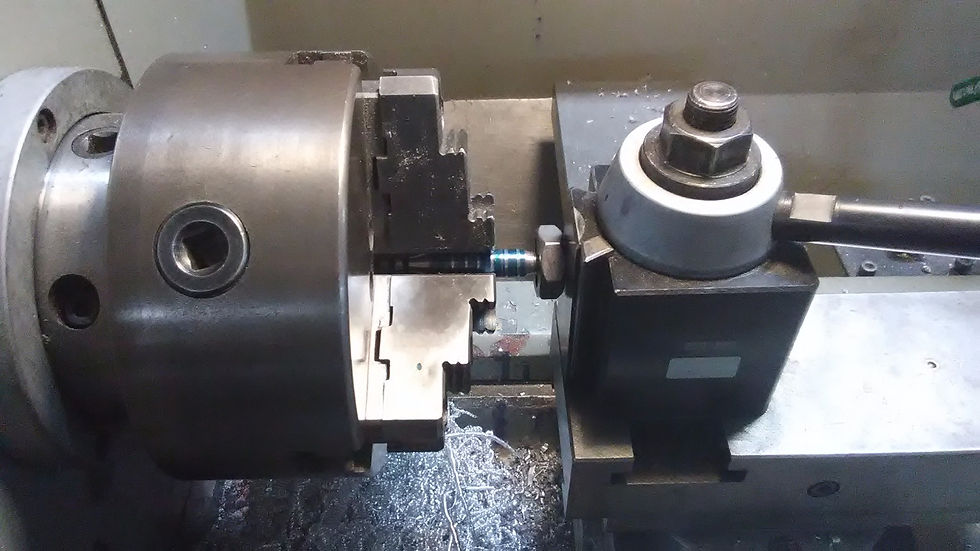
Now we come to the hardest part of this build - cutting the threads. Over 2 days and 3 pens I have yet to get this perfected. I know my thread cutting skills aren't perfect because the threads are not concentric to the parts' outer diameters and so they do not perfectly align the 2 halves, resulting in "bent" pens. For the external threads I was using a die (I have not yet tried cutting threads on the lathe myself), and at first I tried to align it to the part using the live center on the tailstock. But this method came out so crooked that I could see the off-axis threads with the naked eye! I did a little research online and found that the key was to present the die perfectly perpendicular to the axis of rotation of the part. So I modified my setup to use the flat of the tool post to align the die (I decided that I didn't trust the tailstock any more - see debacles with cutting internal threads below).

I also read that I needed to start the cut on a chamfered edge, so I added a 45 degree chamfer to my part. I also used the tool post to apply some force to push the die onto the part - this helped the die cut threads deep enough that it pulled itself forwards onto the part, and I didn't need to support it from the tool post anymore. In previous attempts I had continually pushed forward with my tool post/tailstock and it would usually cause the die to cut away material but not form threads - I think the chamfer and the single initial application of force was a better approach. I'm now about 85% confident that I have a solution for forming external threads...

...Internal threads, however, are a completely different beast. Again, I tried a couple different setups, starting with the one above. I don't think this one worked because there was not enough engagement with the drill chuck and the back of the tap to keep it aligned to the hole. However, the tail stock is also not well aligned to the center of rotation of the chuck - when I drill out the pen hole, the drill always deflects at the start of the cut, which suggests there is some misalignment at the tailstock.

I tried the fixturing method shown above but it also didn't work very well - I was hoping the jaws of the drill chuck would hold the tap centered to the part. Again, though, this part came out misaligned. I also tried the same setup with the tool post that worked for the die, but it didn't work as well for the tap because the tap has a smaller surface area to present to the tool post and is longer, so any error in alignment is magnified. I'm not sure what to try next here, I may have to play around some more.

Finally I developed some techniques for cleaning the parts when I finished machining them. I used some 1000 grit sandpaper to take off the Dykum and used acetone to clean out the light oil. I ran the entire pen on the lathe at a slow speed, around 580 rpm. I was concerned that the chuck jaws would leave marks on the pen while I sanded it so I wrapped one end of the pen in sandpaper while working on the other end. I just bought some 2000 grit sandpaper so next week I'm going to go back and try the finer grit sandpaper, followed by a little carnuba wax to keep the part from oxidizing. I'll keep you posted!
Comments